![]() Phone: 605-554-1911 | Email : sales@primalrights.com
Phone: 605-554-1911 | Email : sales@primalrights.com
![]()
Inline Fabrication
Jun 23, 2017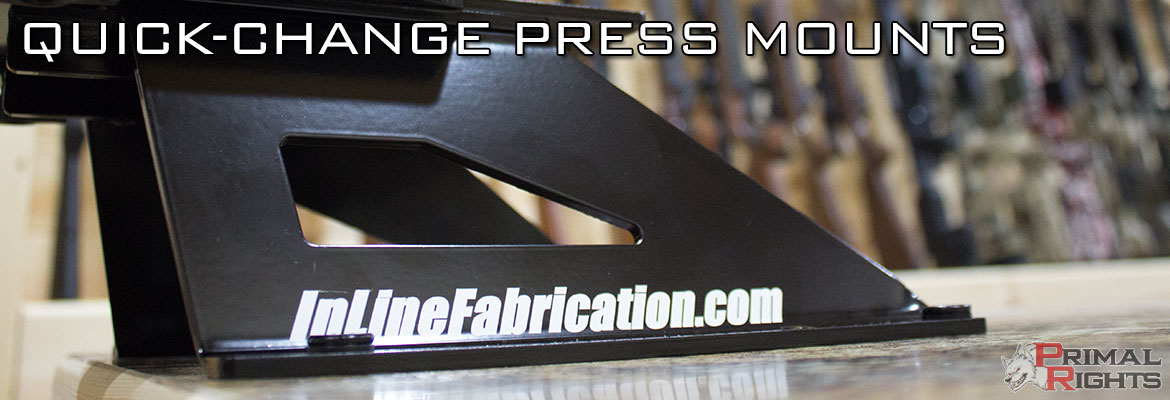
Written By - Greg Dykstra
© Copyright 2009 - Present - Primal Rights Inc
ALL RIGHTS RESERVED
No part of this website or any of its content may be reproduced, distributed, or transmitted in any form or by any means without the express prior written permission of Primal Rights, Inc
As an avid handloader, I am always searching for ways to streamline my processes and equipment in my reloading room. Every few years I will go through a completely new evolution and redesign of my benches. It seems that every time I rebuild, I come up with a better way to do things almost immediately after. Press mounting has always been an area I've not been completely happy with. There are a number of reasons why this has always been difficult. Each press or tool I need to affix to my reloading bench seems to have a completely different bolt pattern from one to the next. The hardware and bolt pattern needed for my Forster Co-Ax is decidedly different from that needed to mount an RCBS Rock Chucker. This resulted in new holes bored through the bench every time something new was purchased. After a while, the bench started to look like swiss cheese. I'm happy to say today all of that unpleasantness is behind me, and I owe it all to Inline Fabrication and their Ultramount QD press mounting solutions! Read on to learn about why these mounts can save you substantial time and effort in your own reloading rooms.
I learned very quickly that boring new holes through my bench each time a new device arrived was unhealthy for both the reloading bench and my sanity. My first foray into quick-change press mounts was a self-made system where I mounted C-channel to the reloading bench and used custom "blocks" that slid into it. Each block was drilled for the specific device it held. The biggest flaw in this system was that I needed to "slide" each block in and out of the C-channel and that was time consuming and did not often go unchallenged by the hardware. Large quantities of thumb screws and rail sliders were needed. The rail sections were aluminum at first, and were prone to being damaged. I then upgraded to steel channel, but it was prone to damage as well. However the most hated thing about this setup was the fact that random items would fall into the channels and were sometimes difficult to get out. Most imperfect. Not very strong and certainly not very user friendly. After my bout with the C-channel type setup, I switched to a dovetail type insert system. This went through several evolutions, the most recent of which is pictured below. My bench was comprised of 4 sheets of 3/4" plywood and an insert was created to slide in between the different layers. Then I could create a bunch of insert "blanks" which each of the devices was bolted to and could be swapped out as necessary into the two receiving slots in the bench. The inserts were held in place and clamped down by 3 large bolts. While significantly better than the C-channel method, still had drawbacks. The strength of the bench was significantly compromised. No matter how tight the insert was fitted or how tight the bolts were clamped down, there was certainly some give and play to the system.
After using that rendition of bench for approximately a year, it became necessary to remodel my reloading room entirely. I simply needed more space and a major change was needed. Along with this would come an entirely new reloading bench. I decided that I was going to take all the time necessary to research all the available press mounting solutions on the market before completing the bench. No expense was to be spared and no time considerations were going to sway my choices. It was going to be all the way right, or nothing at all. The past 5-8 versions of my reloading benches had taught me the characteristics which were necessary, so I set out to find it. There were surprisingly few commercially available systems. A great number of do-it-yourself contraptions were found however. Most of which I had tried in one variation or the next. I was looking for a competently designed and factory supported system this time. This is when I happened across Inline Fabrication.
I had seen their mounts in various images before. Most commonly I had seen them used with Dillon progressive presses. A big tall pedestal that sat high on the bench. This really never interested me. As a precision rifleman I don't have much use for progressive presses and I certainly didn't want my press mounted way up off my bench. Still, I was desperate to find a solution, and their Ultramount seemed to have a very robust and versatile interface. Upon digging a little deeper, I discovered they had a flush mount version which could be right at bench top height. Fantastic! However, I noticed that it stuck out over the front of the bench a considerable margin, and that really wasn't what I was looking to do. This was so close though. There had to be a way to make this work. I picked up the phone and called Inline Fab's phone number via their website. I was surprised when the owner, Dan Clausen, answered the phone. After a few minutes explaining what I wanted to do, he assured me that it would work and that other customers had done it like I wanted to before. After getting through with some Q&A on the phone, I placed an order for an entire kit on the website. I ordered two flush mount quick change baseplates, quick change top plates for all my presses, several blank quick change top plates, and 5 individual quick change storage plates. All said and done I think the total was $250. Considering the amount of time and money I had spent on trying to make a quick-change system for myself, this was actually an extremely cheap investment.
The items from Inline Fabrication showed up right on schedule and the new reloading bench was ready for the install. The bench was built from 4 layers of 3/4" plywood, topped with industrial grade Formica laminate, and trimmed with 3/4" pine. I took measurements from the Inline base plates and created a basic router guide. A couple of clamps were used to hold it steady where I wanted the plates installed.
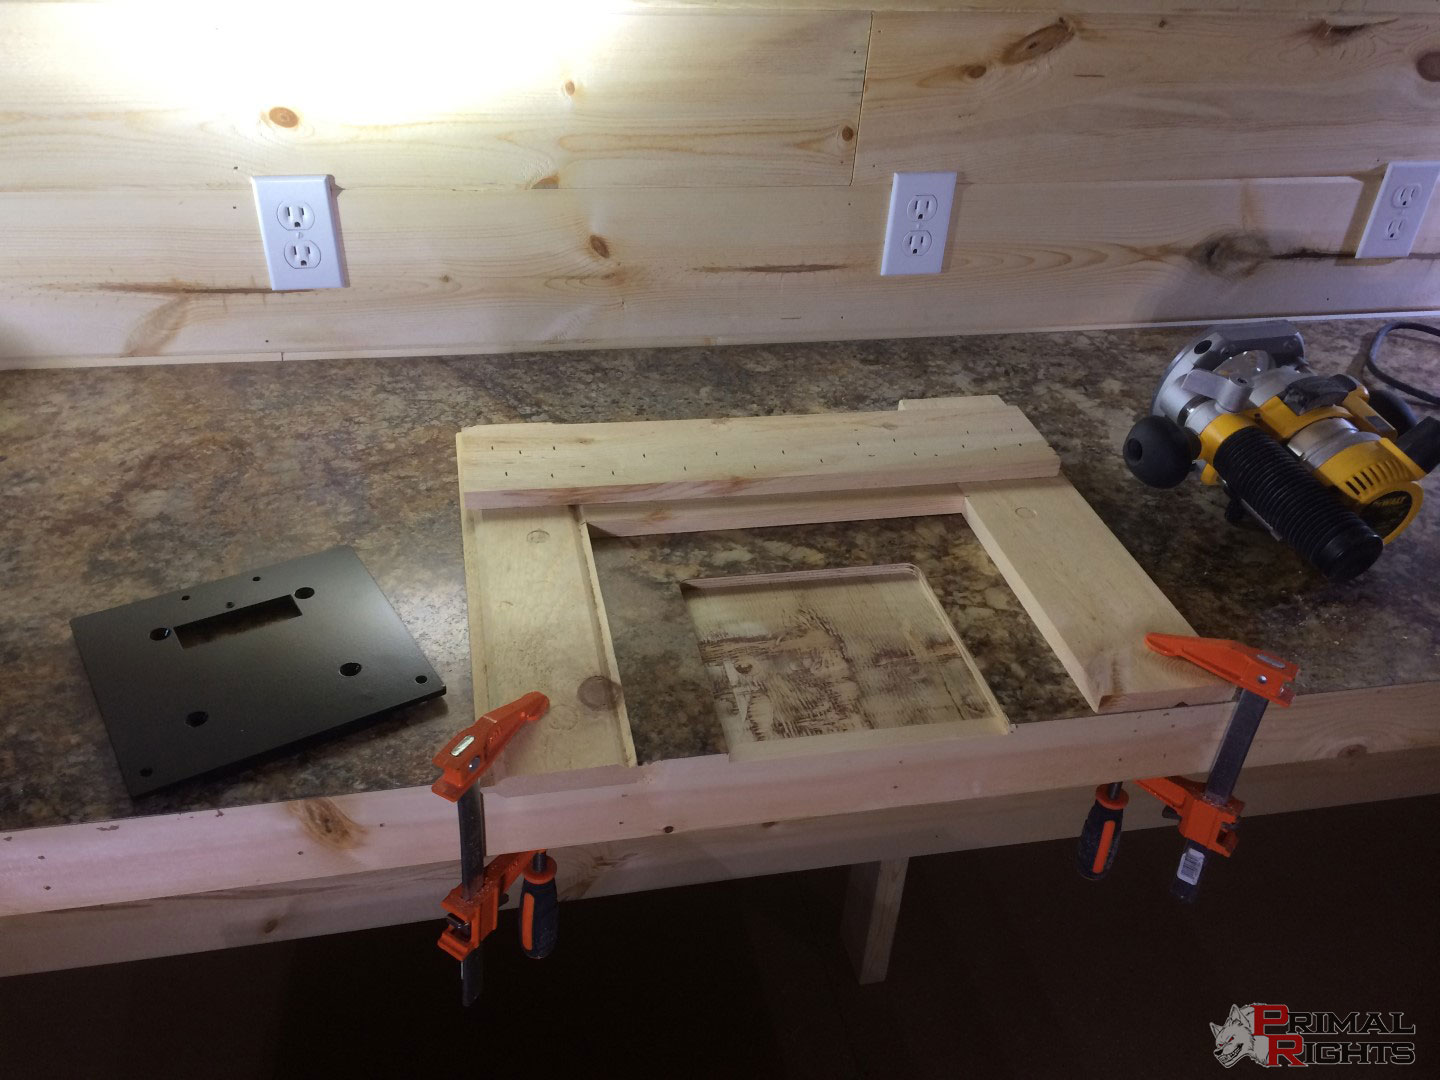
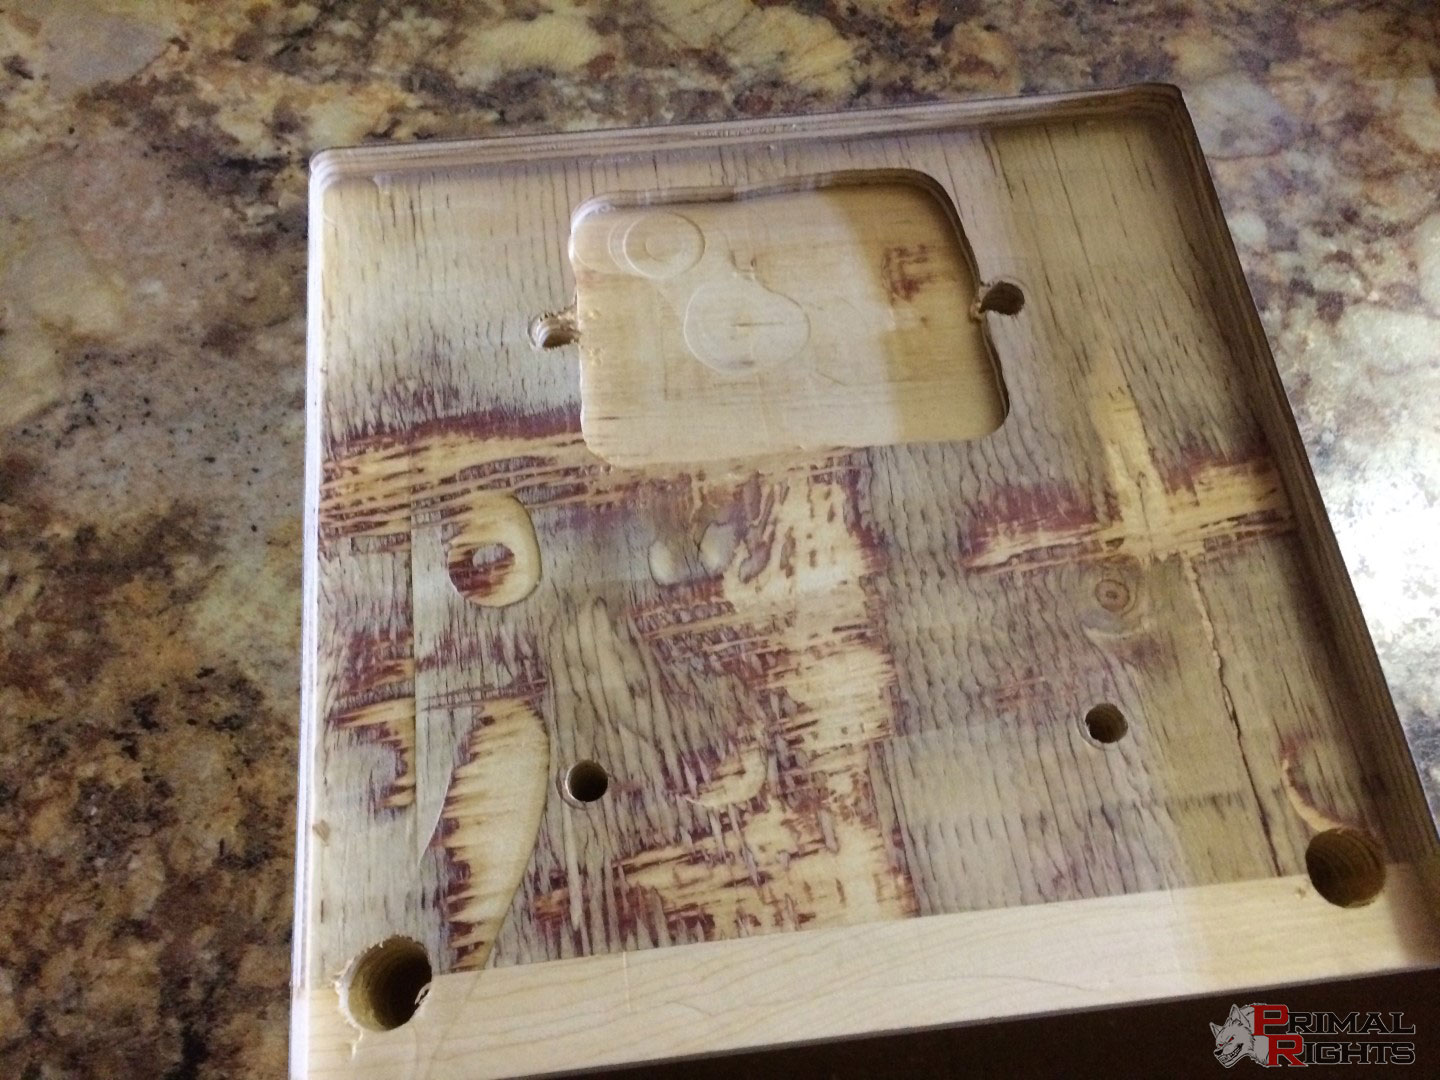
After routing with a basic plunge bit I slide the base plate into position but the back corners didn't line up just right, so I needed to dig out a smaller router bit to get the dimensions right. After that it slid right into position perfectly. Next I had to relieve the area beneath the square slot in the base plate to ensure the top plates had clearance and could fit into the slot. I learned very quickly that this operation should have been measured and accomplished first, before the rest had been routed out. It's very hard to create flat and uniform geometry when the router has no support on one side. I hovered in there by hand and did the best I could. When this was finished, I moved on to drilling the mounting holes and found some of them to be right on the edge of my routed geometry. I could have thought this out better! Eventually I did manage to get all of the holes in their proper locations.
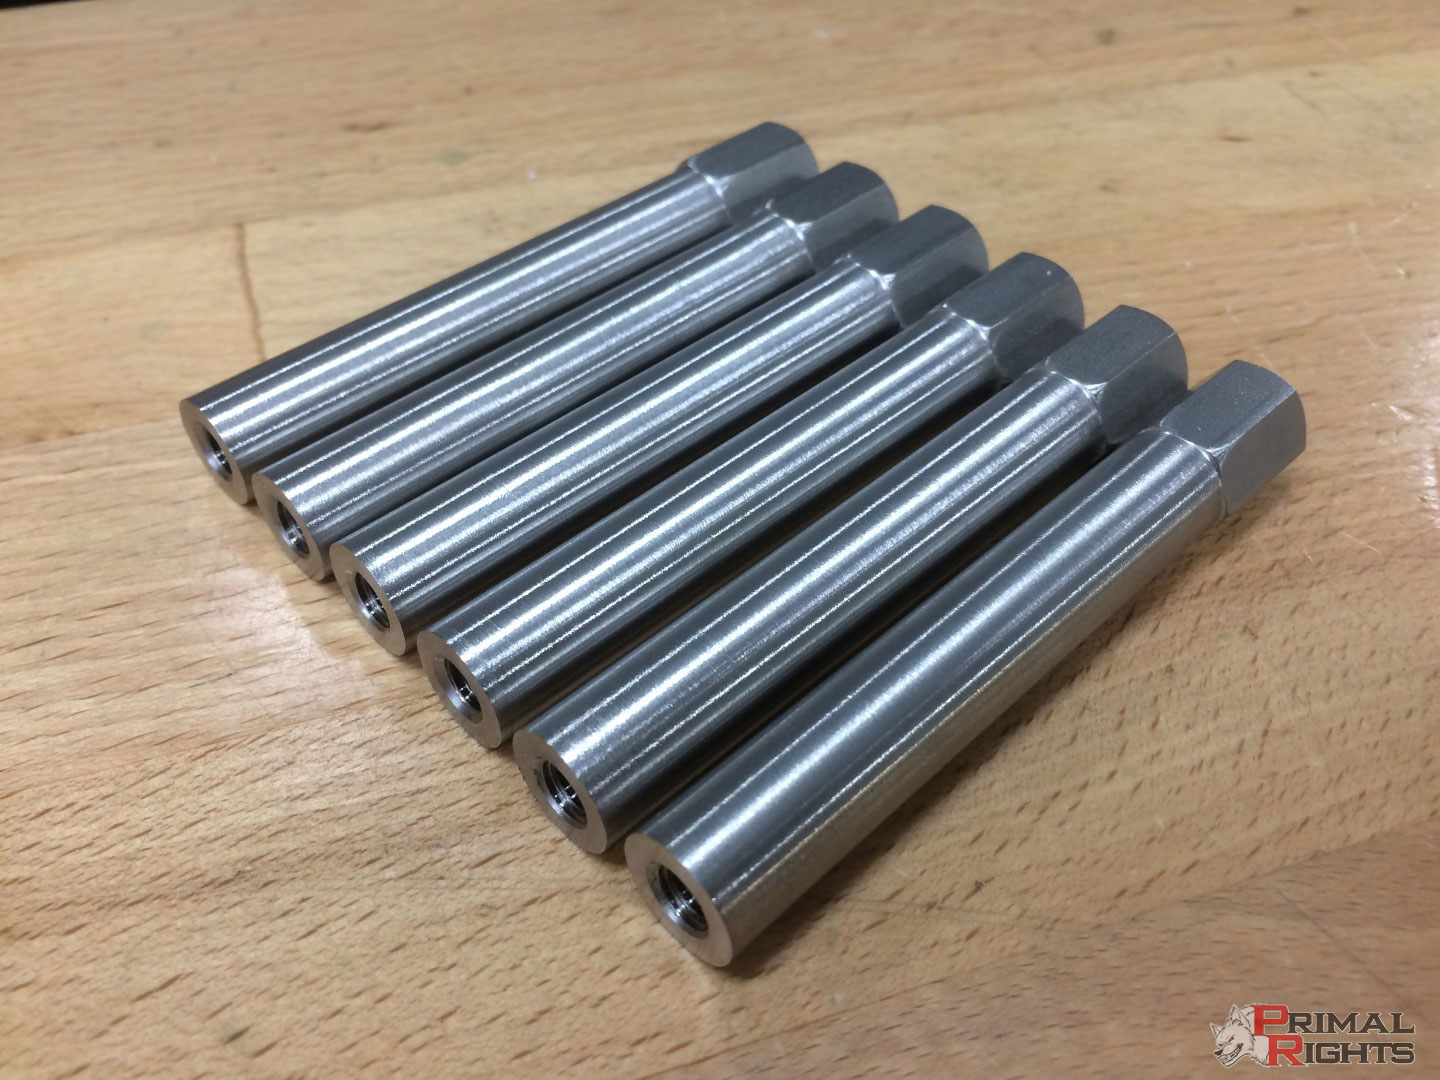
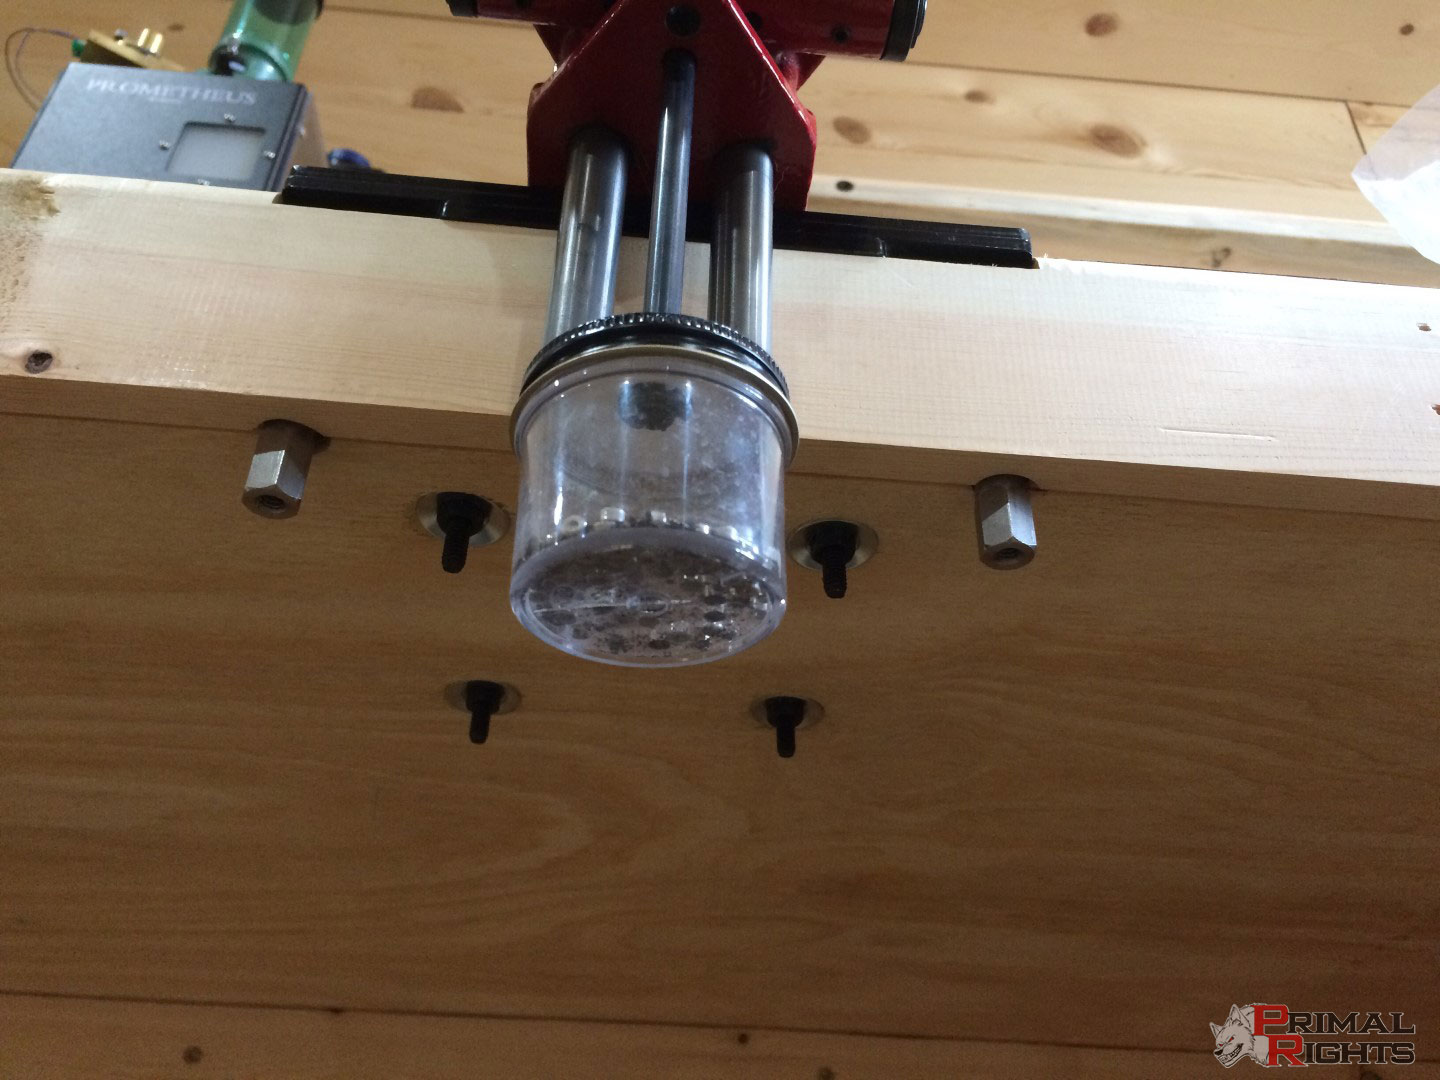
In order to achieve true flush-mount with the front and top of the bench, I had to source some specialty hardware to interface the screws on the top plates themselves. On a normal installation the front of the base plate would hang over the front of the bench by a couple inches and you would have some wing nuts or thumb screws in place to hold the front of the top plate down. With my installation I needed to find a fastener to go through three inches of wood and allow me to get at them from beneath the bench. I remembered speaking with Dan regarding my plans and he mentioned some extended nuts. A quick search on McMaster Carr turned up some extended nuts of the correct 1/4-20 size. I also ordered the long 1/4-20 flat head screws required to fix the base plate to the bench from a local supplier. While I could have drilled a larger hole to accommodate the extended nuts just as they are, I opted to modify the nuts so a smaller hole could be used. As you can see the holes are right in the middle where the trim board meets the plywood top. A precarious position indeed. However as the extended nuts will only be pressing against the base plate itself, no load would be applied to the wood here at all. The clearance hole was drilled out 1/2" and the nuts were turned down to .400" on a lathe.
With all the necessary hardware, it was time to get the base plates installed in the bench. This went swimmingly. Everything lined up perfectly and the plates themselves were uniform, able to be put in either location on the bench as they were identical. The black powder coat finish went beautifully with the formica I had chosen and really looked amazing. If a guy didn't like the color, I'm sure it wouldn't be difficult to personalize by blasting the current coating and re-doing them to your liking.
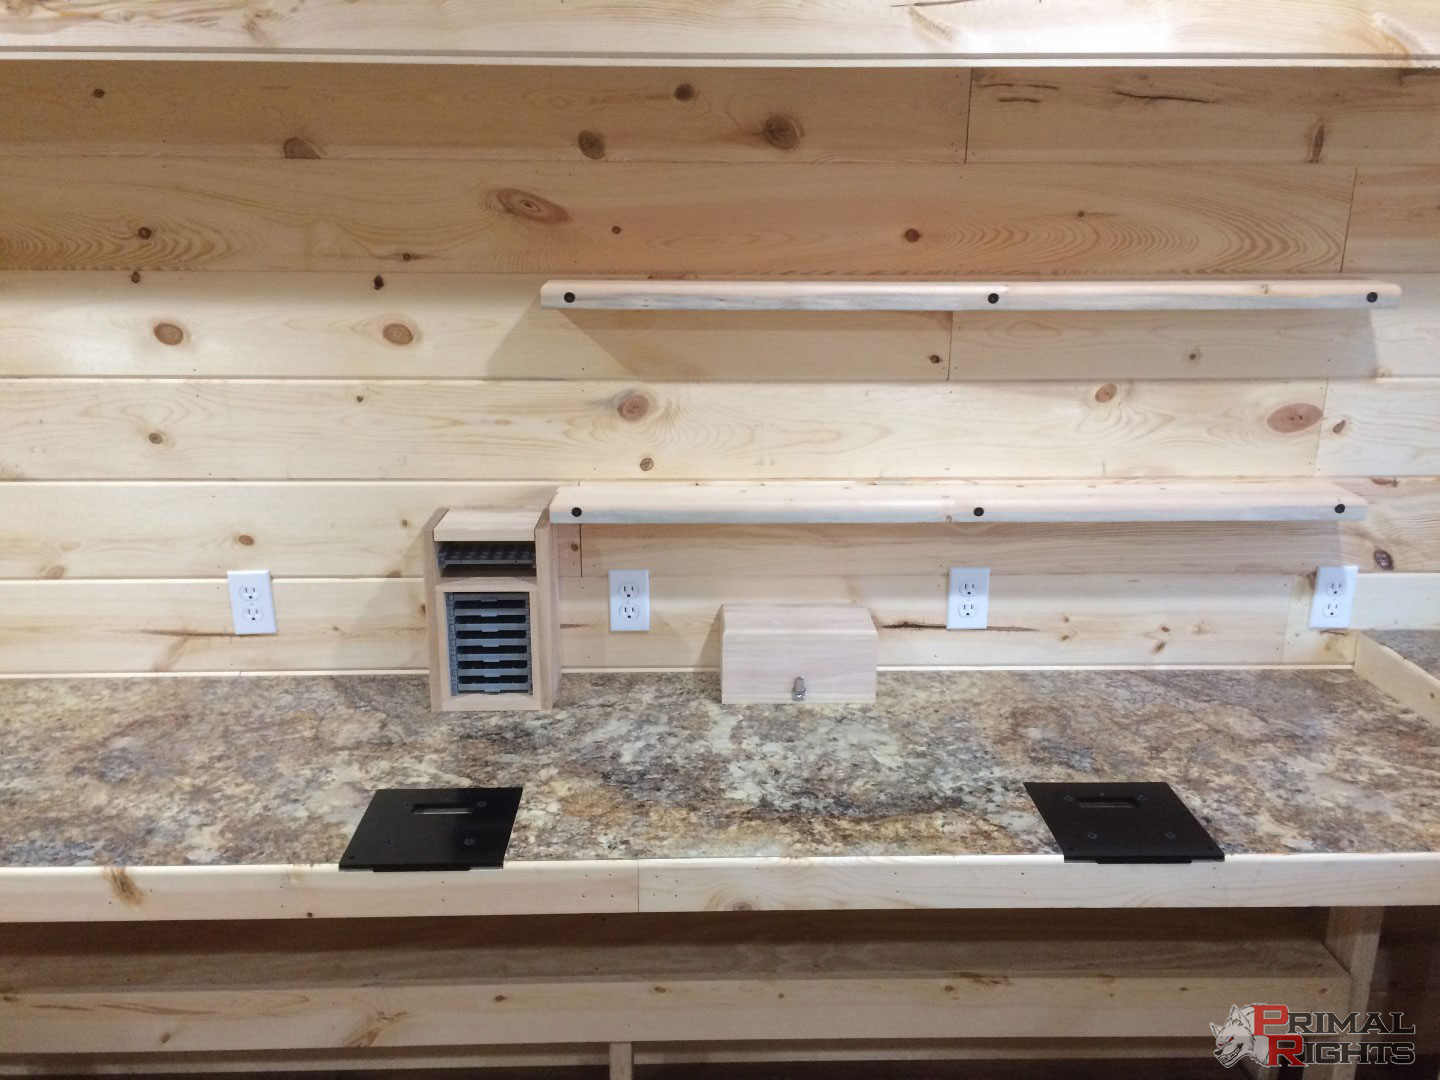
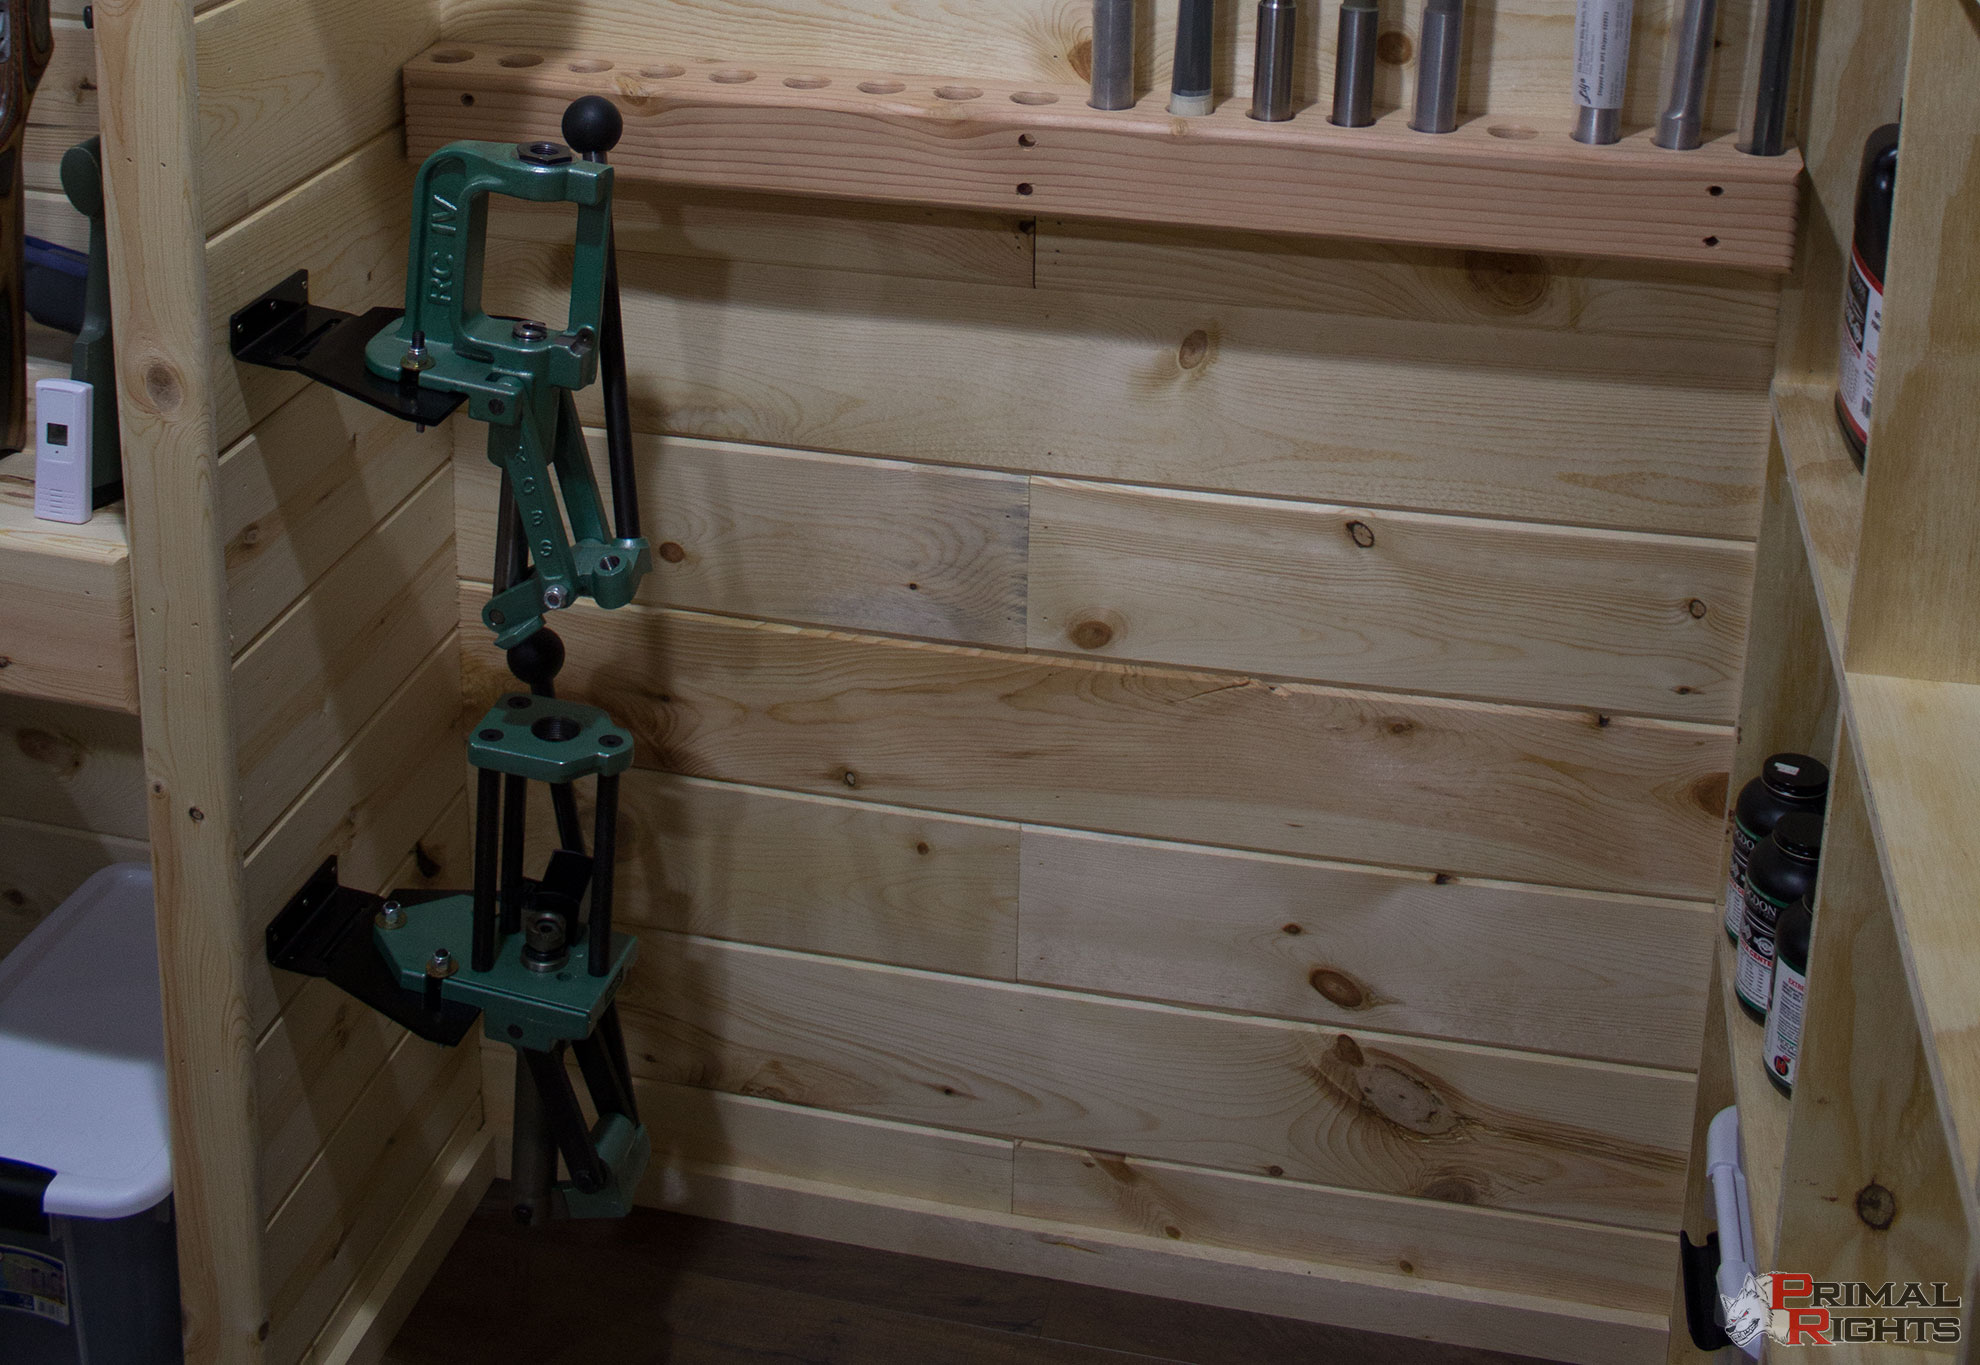
The extended nuts worked out wonderfully. Very easy access to get at them and make them finger tight or even bump them a tiny bit with a wrench if you wanted to. I toyed with the idea of shortening and counter-sinking them into the bench , but considering there is always something hanging down there with presses anyway, it seemed rather pointless. The Forster Co-Ax will stay there primarily in the first station and the Competition Primer Seater will mainly stay in the second station. However, the versatility of being able to swap out any of my presses when specific tasks require it is very nice.
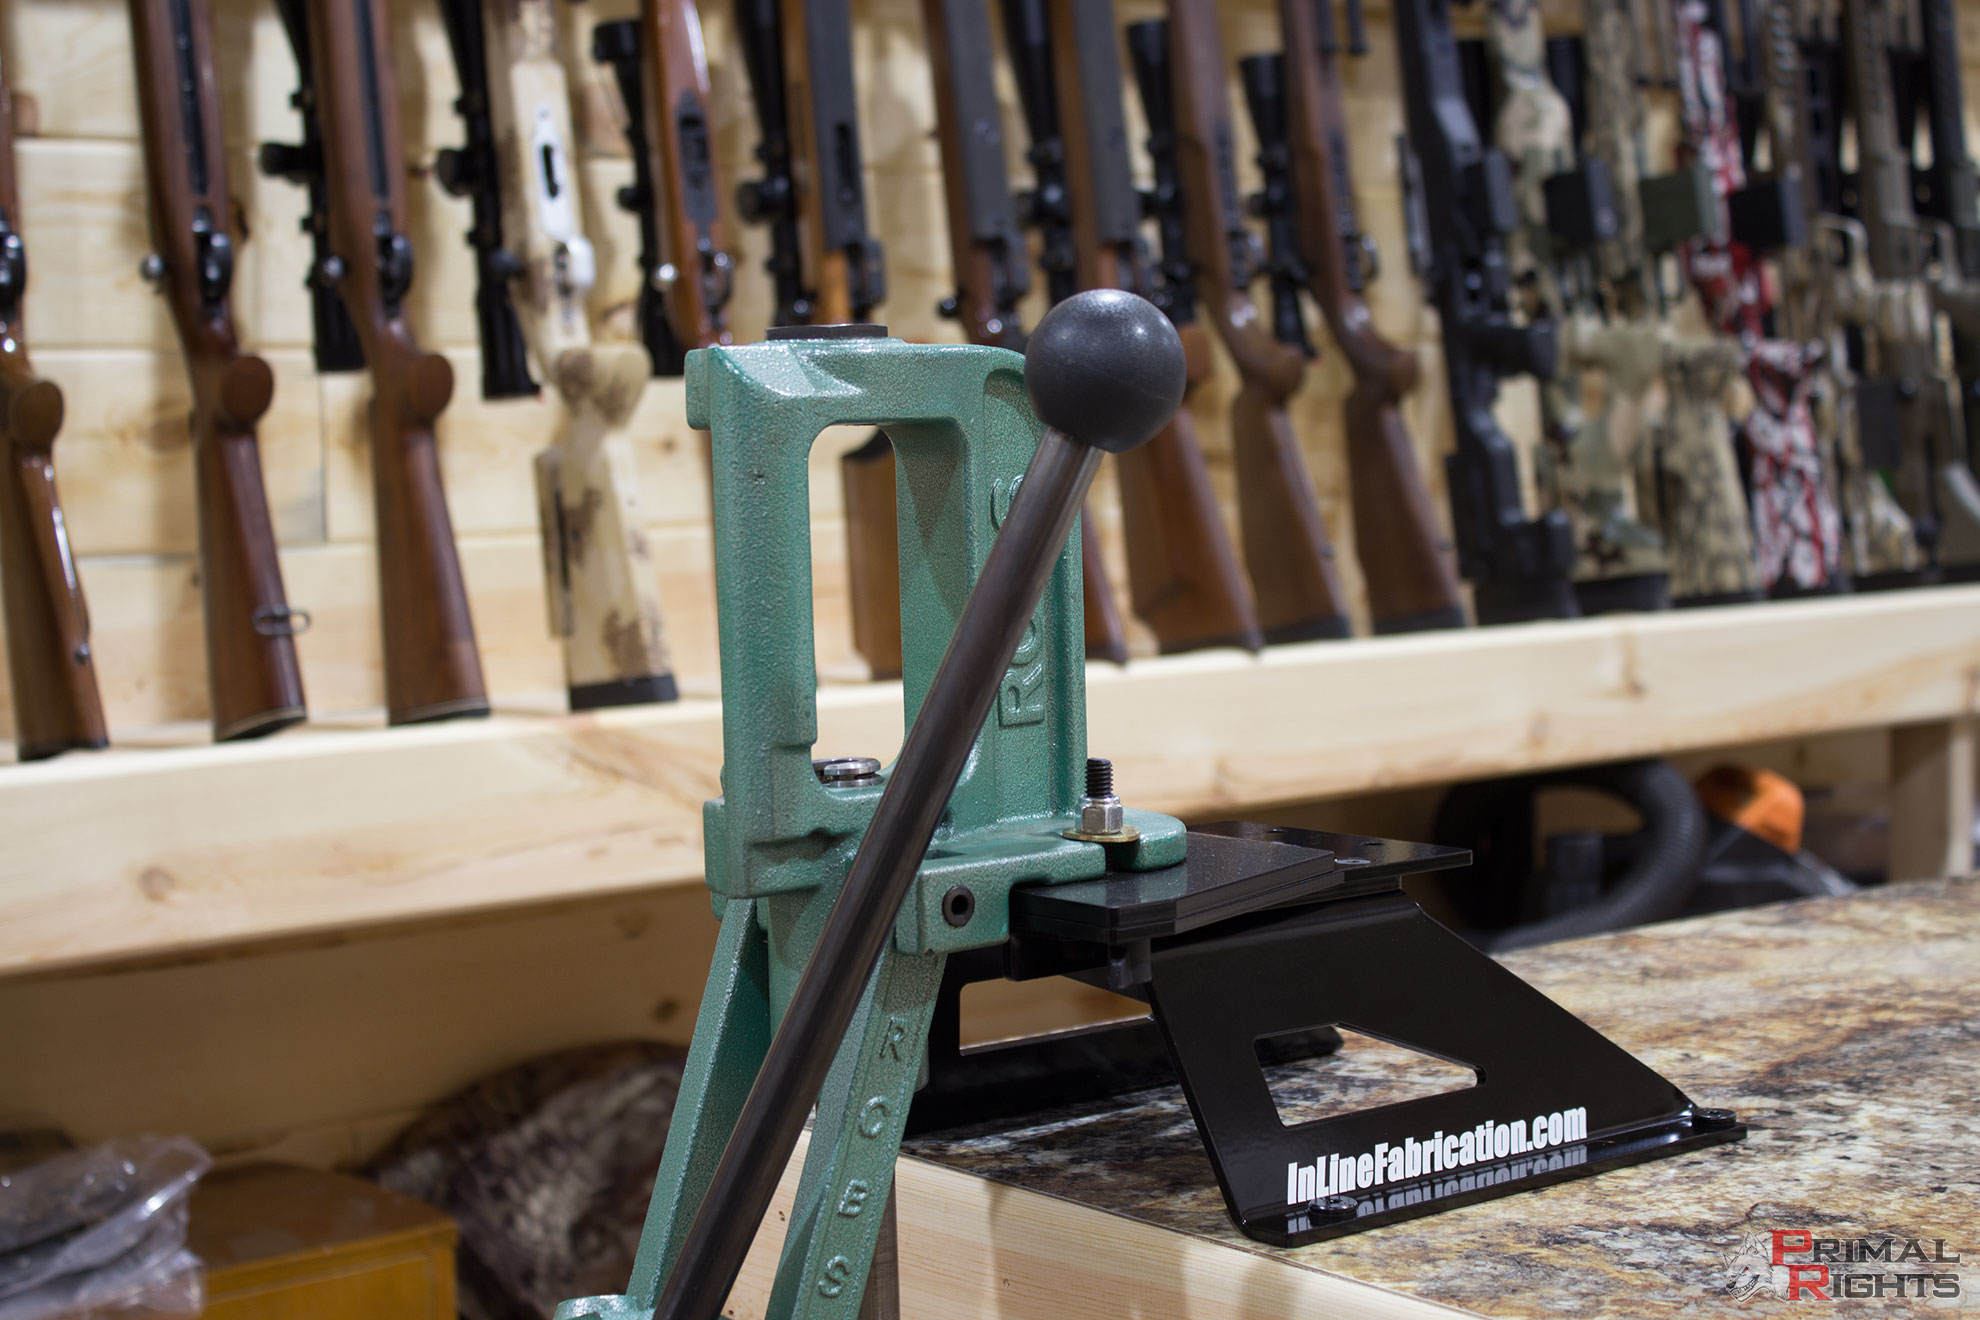
In use, the Ultramount flush setup is absolutely amazing. Bomb-proof strength comes to mind. I could, and did, stand on top of my press handle and hopped up and down. There is absolutely no way this thing is breaking or coming loose during normal or even abnormal reloading practices. I would not hesitate to size untold quantities of 50BMG brass using this mount. Chances are that my RCBS Ammomaster 2 press would break before this QD plate system would. The flush mount setup is very nice as you can get bullet bins and various items snuggled right up next to the press during operation. This is great from an ergonomics standpoint. Most QD systems position the press awkwardly and make moving items around next to them quite cumbersome. Not so with Inline Fabrication flush mount.
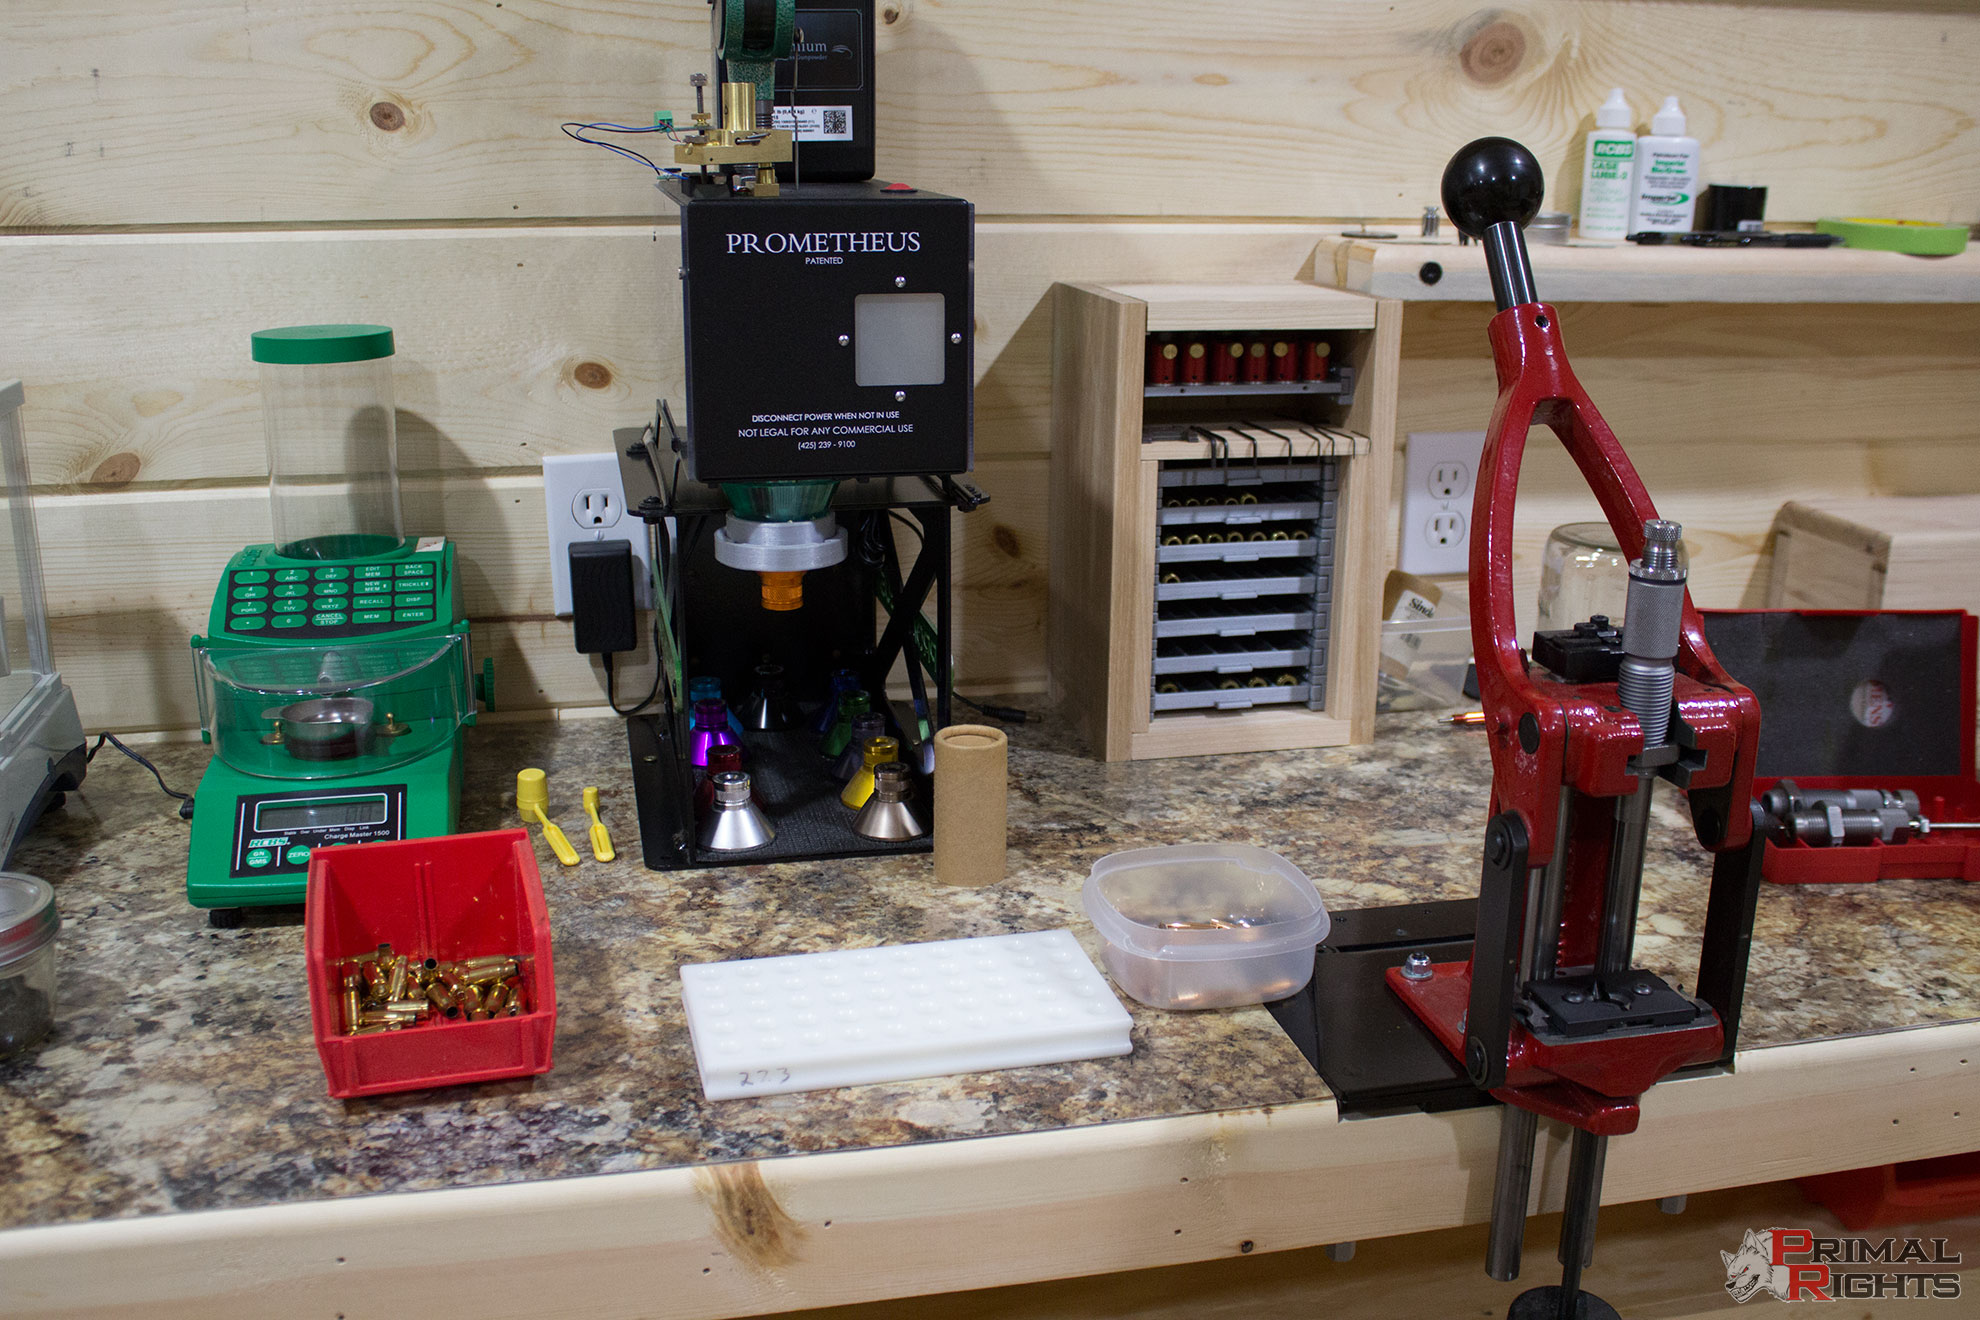

The CPS above was mounted to a "blank" top plate which I had custom machined locally to accommodate the mounting holes. Perfect fit, and the insane precision and ruggedness of the CPS is accented by the rigidity and ruggedness of the mounting system. You can feel EVERYTHING when priming with this setup.
The storage plates from Inline Fab really complete this system. They allow you to store your presses and other devices up and out of the way for quick and easy access. A nice touch that no QD press user should be without.
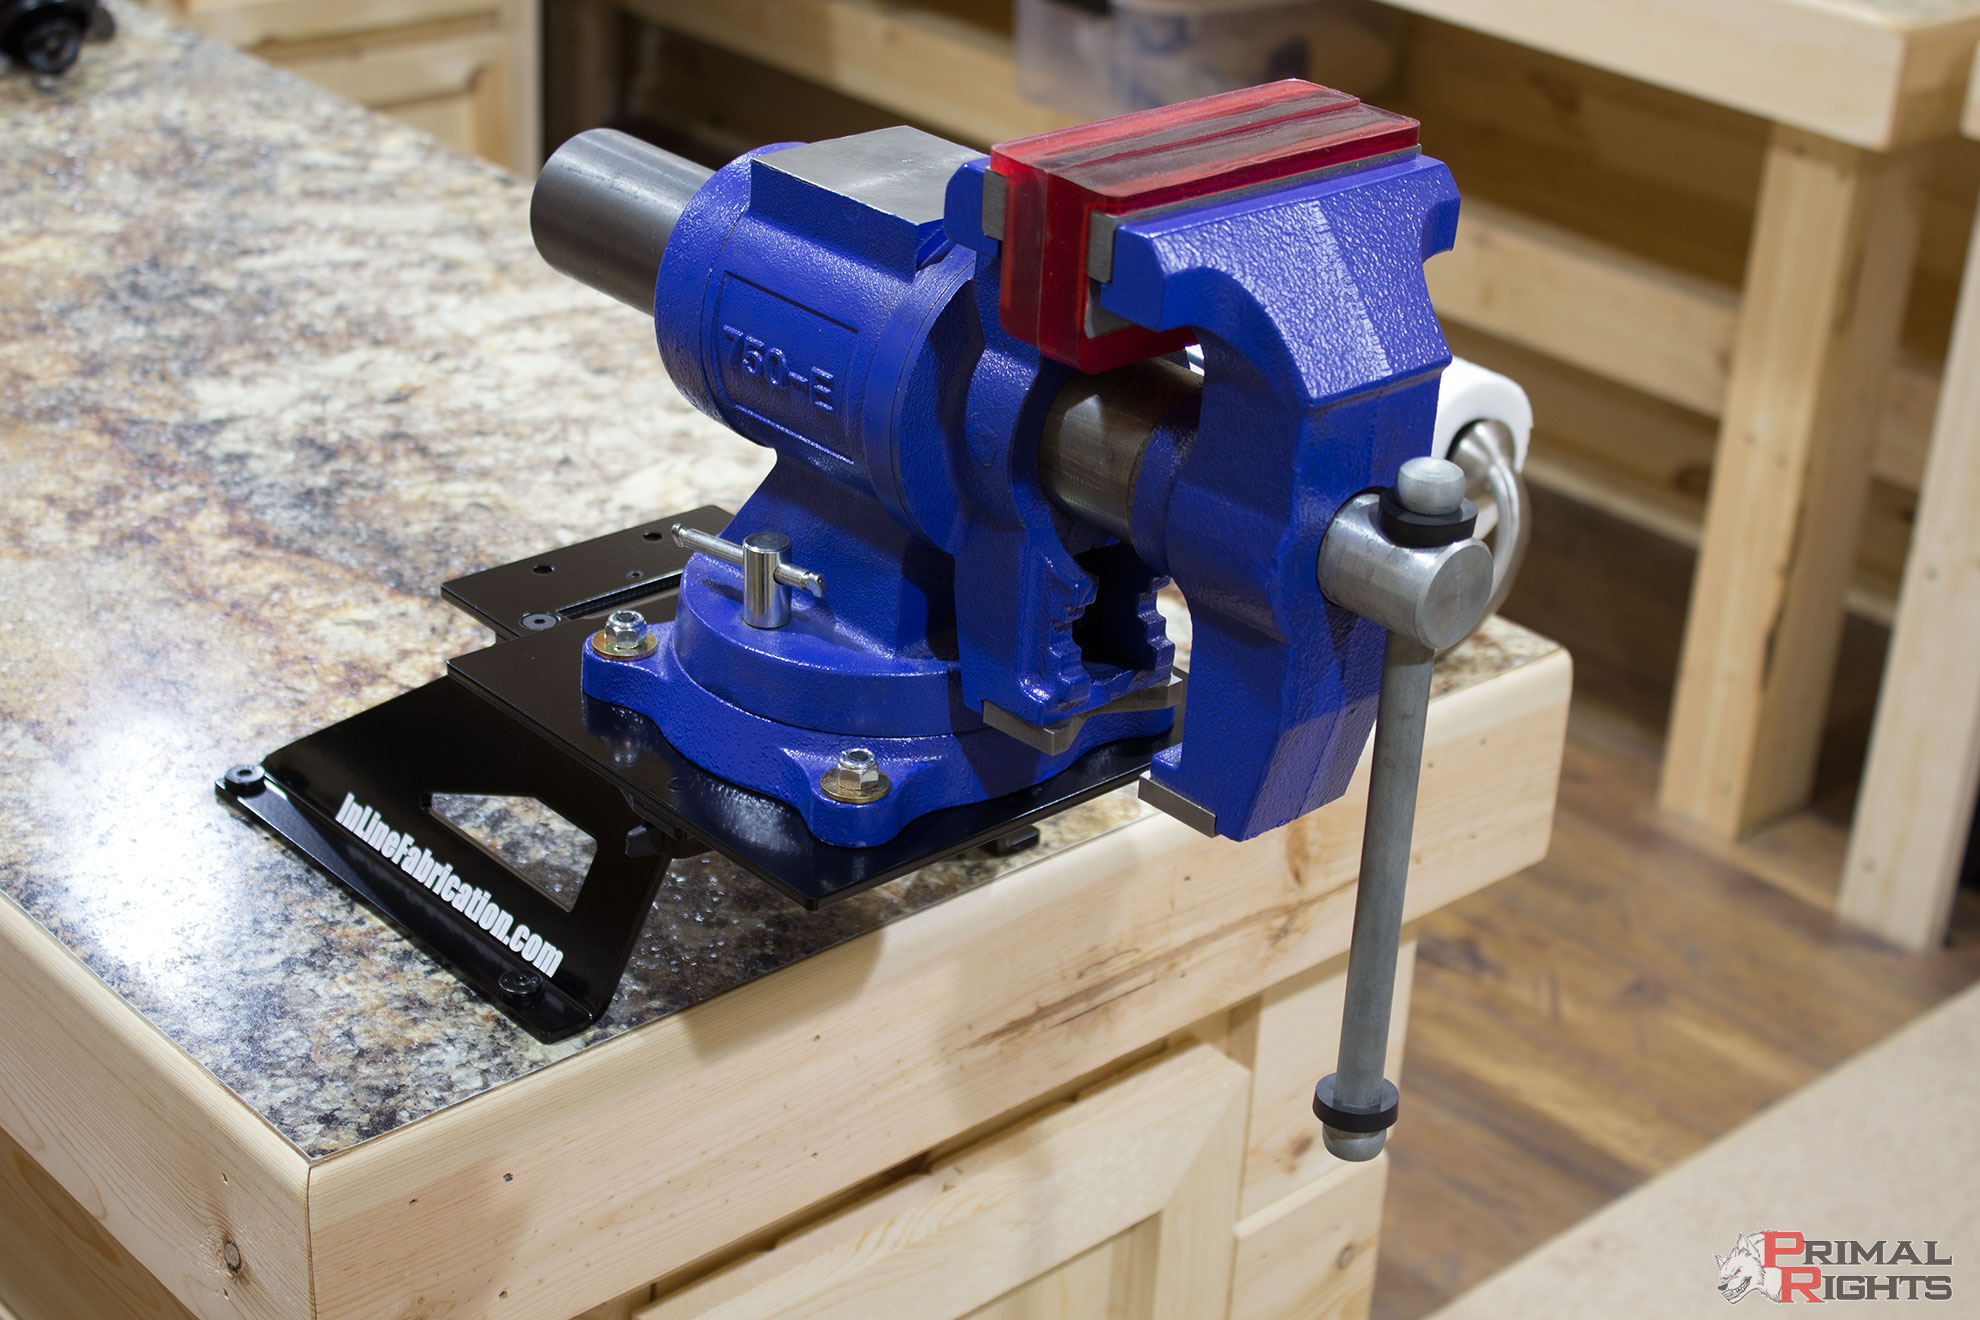
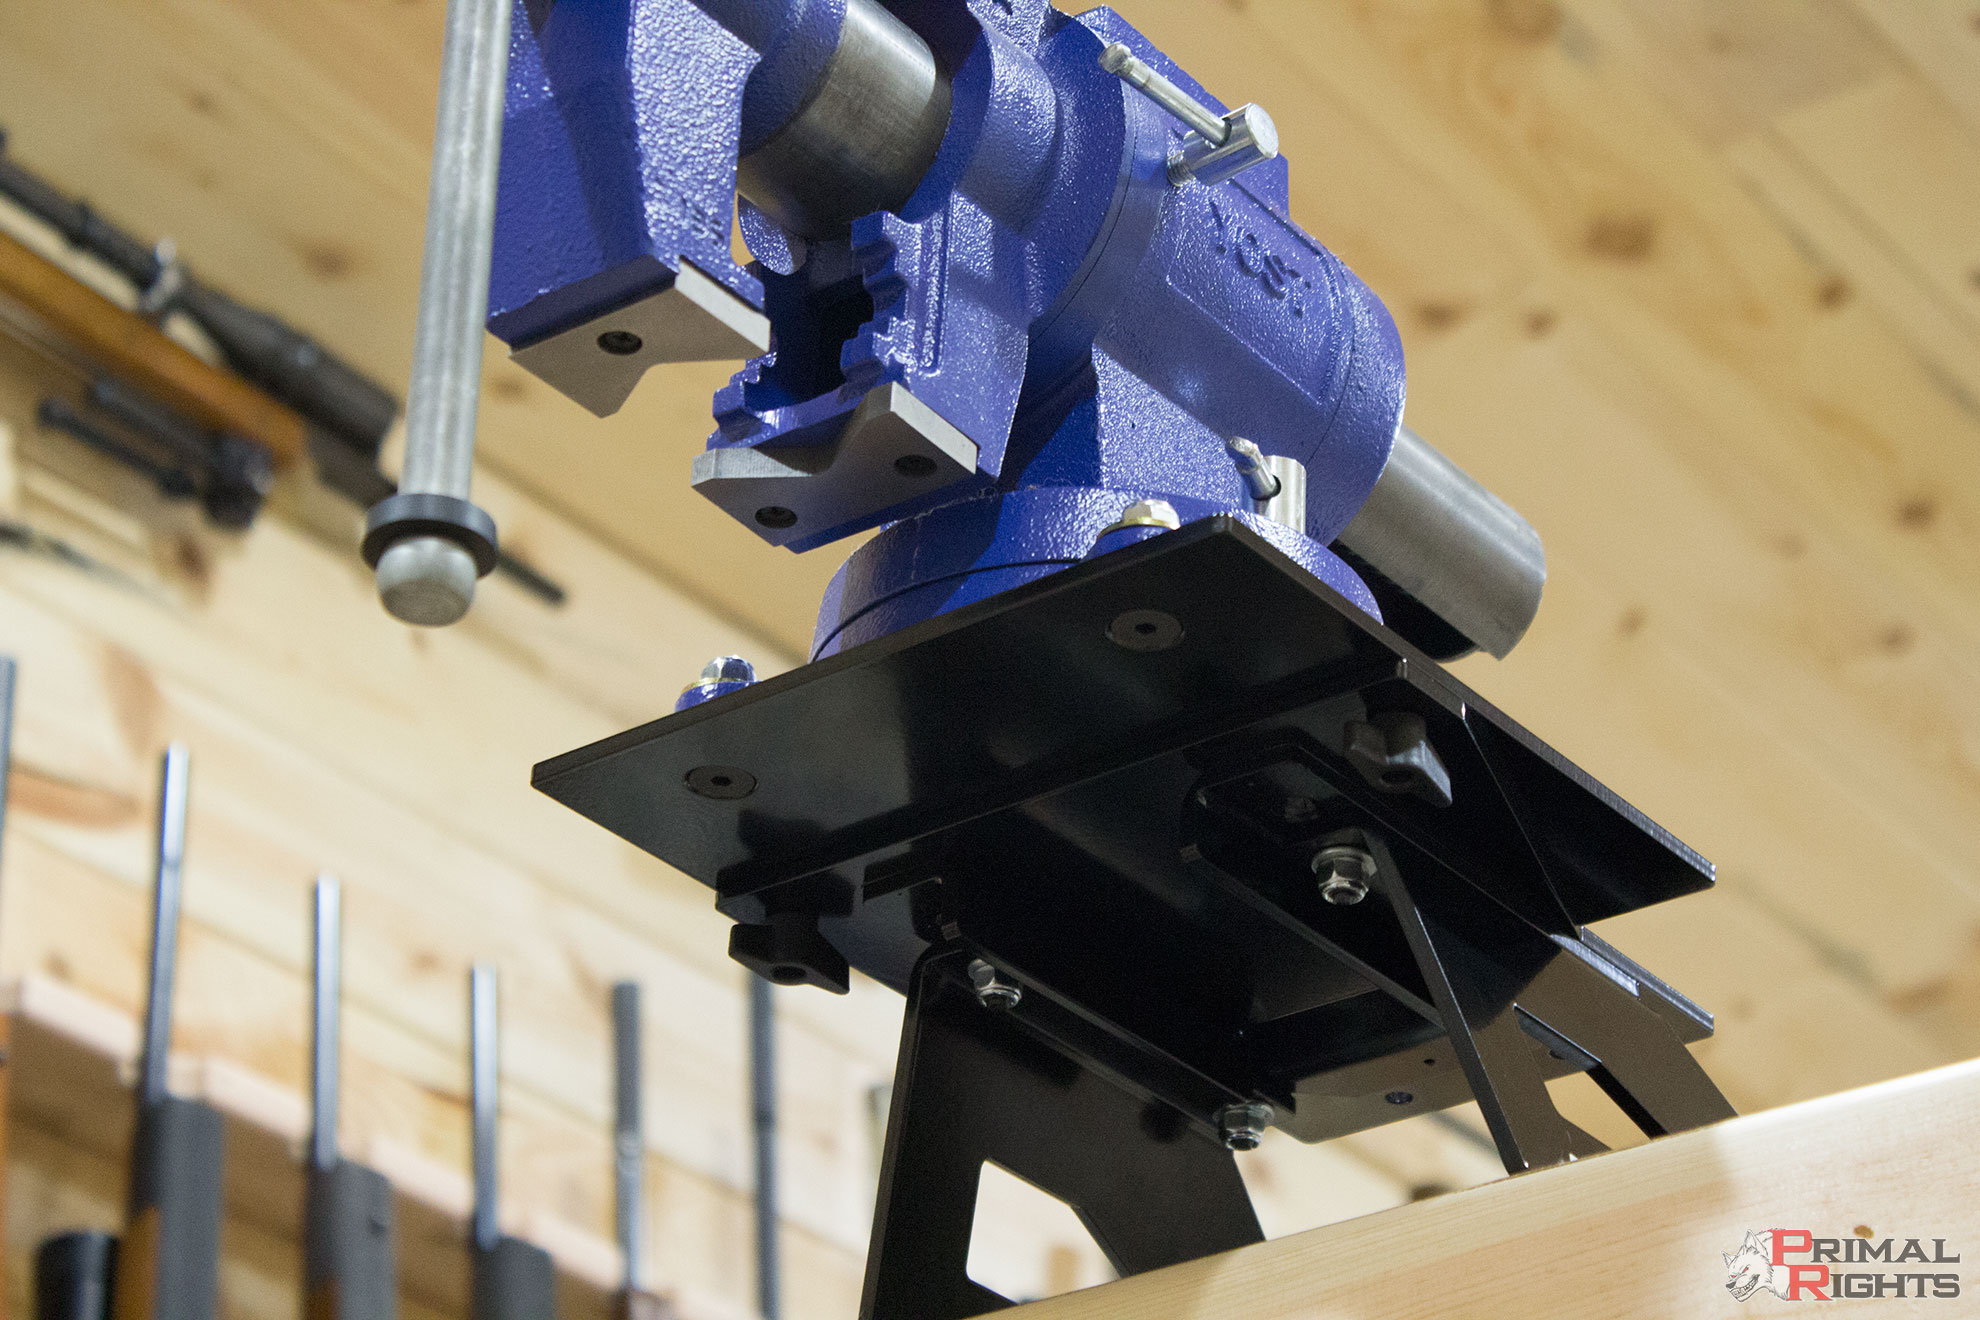
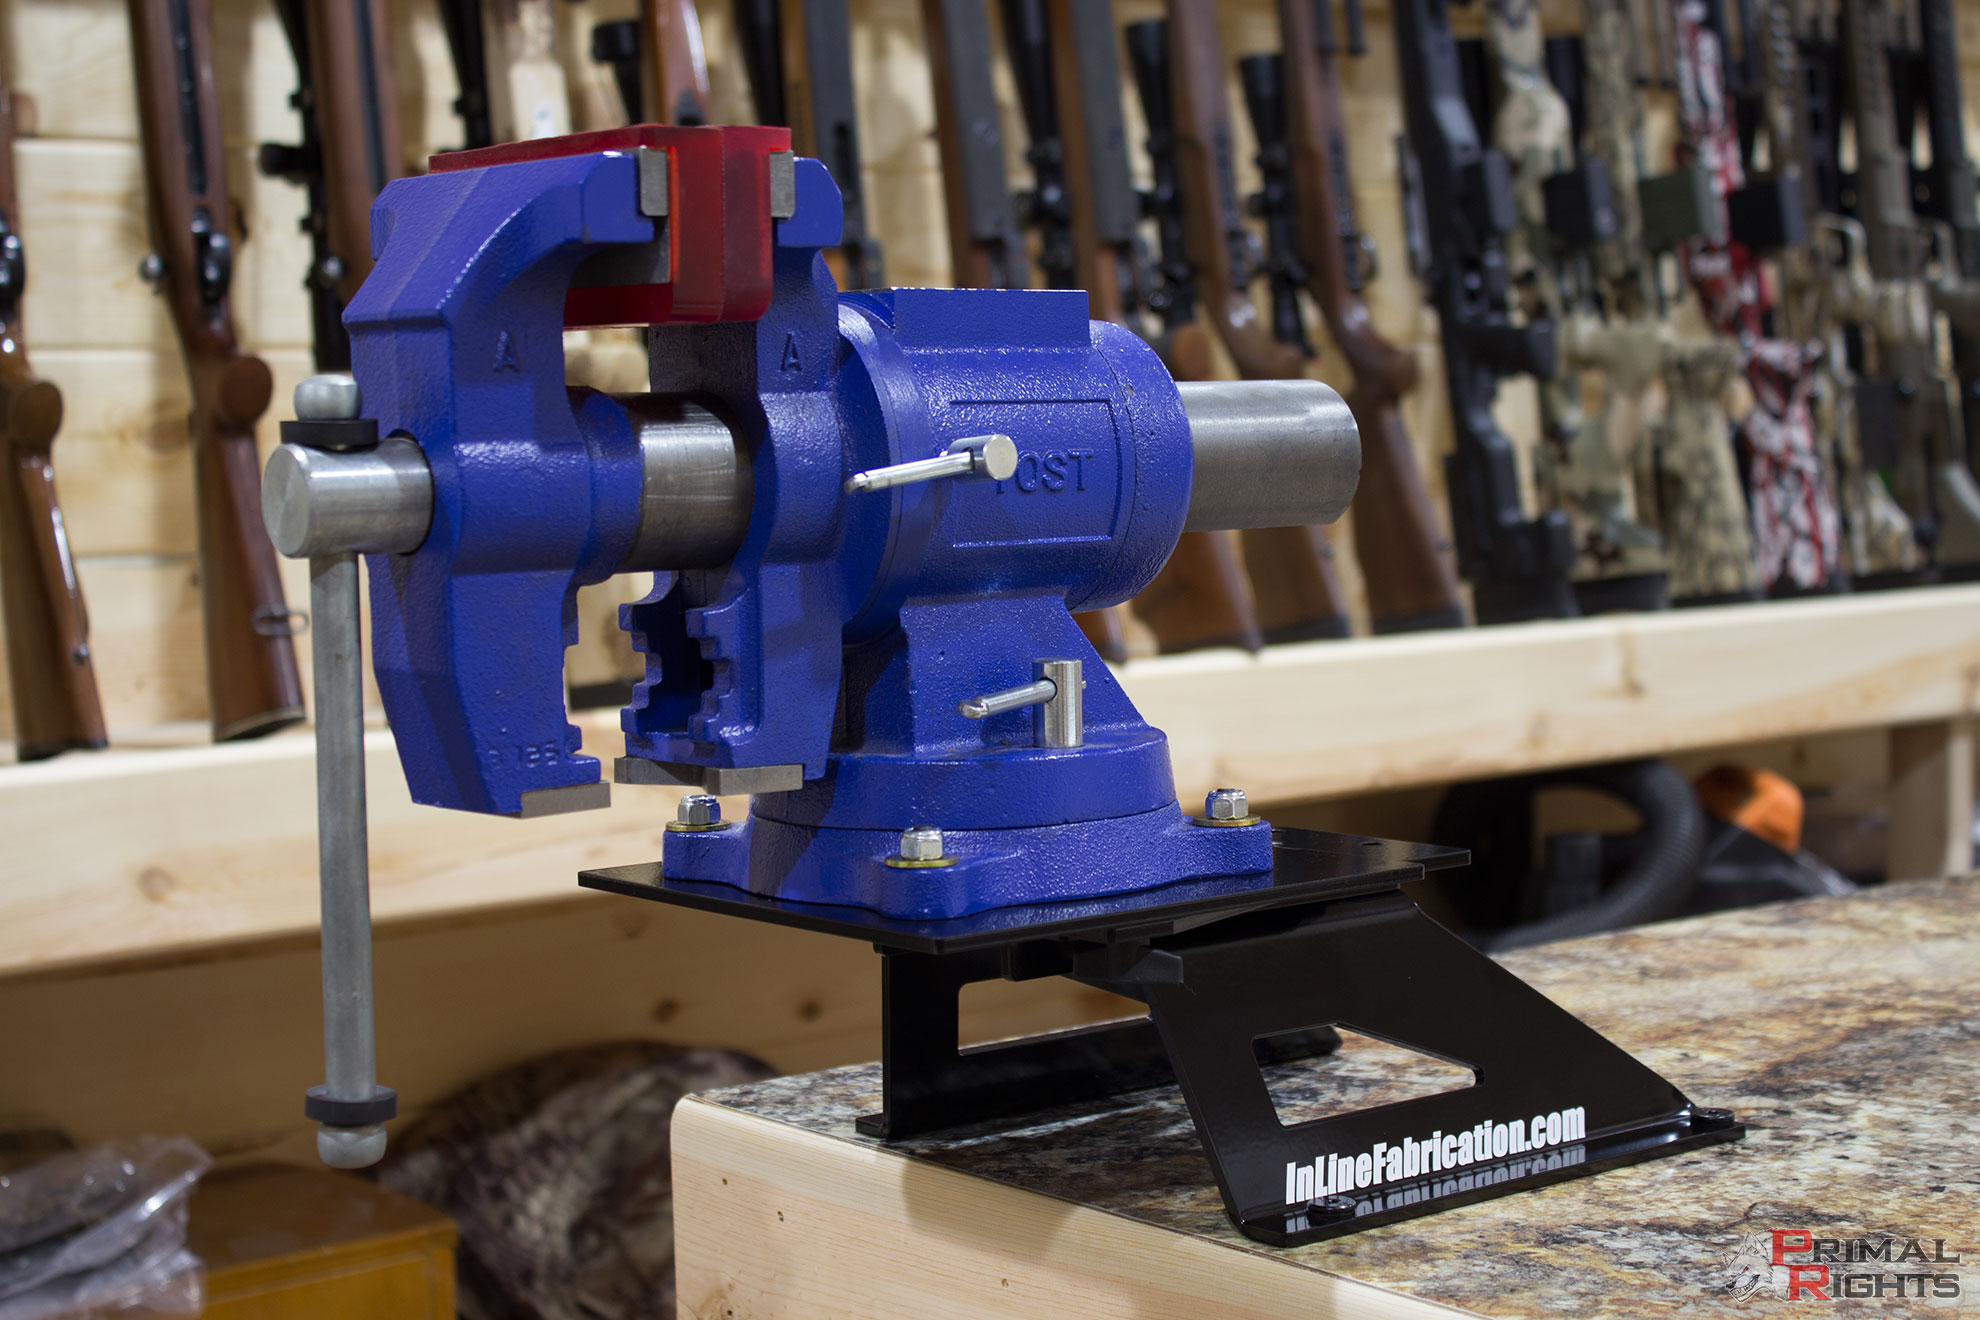
After having such a great experience with Inline Fab mounts on my reloading bench, I recalled reading that they can do custom top plates to accommodate all manner of devices. I called Dan again and discussed getting a custom top plate made for my bench vise. I thought it would be excellent to have a QD setup on my vise also, because then I could use that for another press mounting location if the need ever arose! I took some pictures and some dimensions and emailed that to inline fab. Within a couple weeks I received a ship notification. Great turn around time and excellent service indeed. The custom top plate with included hardware and the 4" high Ultramount were easy to install and work just as expected.
In hind sight I think I would have purchased the riser plate for the flush mount base plates. That way I wouldn't have needed to route out the little pocket deeper inside the main base plate area for clearance. A better solution yet would be for the base plate to have that riser integrated, so then a guy could route the area for the entire base plate flat and be finished at that point aside from the mounting screw holes.
Another possible design change I would suggest would be to have the top of the base plate nest the top plates so as to be truly "flush" on top all the way to the press itself. This would of course require routing the base plate in deeper still, and would likely create problems with some custom top plates. Having said that, in closing I find the Inline Fabrication QD system to be the most complete and well thought out system of its kind available today. The company itself is responsive and when talking to them you get a sense that they truly care about their customers experiences with the products. I highly recommend every handloader consider them for their own loading benches and work benches. The versatility and strength of this system will benefit anyone that needs to swap out heavy and hard working devices. There will definitely be more products from Inline Fabrication in my future!
Most Recent Posts
Primal Rights, Inc
18570 Chance Rd
Meadow SD 57644
© Copyright 2009-present Primal Rights Inc
ALL RIGHTS RESERVED
No part of this website or any of its content may be reproduced, distributed, or transmitted in any form or by any means without the express prior written permission of Primal Rights, Inc